Unlocking the Secret to Silky Smooth Creamy Homemade Hummus
Craving that irresistibly velvety, rich, and utterly delicious hummus you find in your favorite Middle Eastern restaurants? Imagine whipping up a batch of that same perfection right in your own kitchen, healthier and tastier than anything store-bought. You're in the right place! This comprehensive guide will walk you through every step to create the ultimate
smooth creamy homemade hummus – a dip so delightful, it will undoubtedly become a staple in your snack and meal rotations. Forget grainy textures and bland flavors; prepare to impress your taste buds and your guests with this simple yet sophisticated staple.
Making exceptional hummus isn't just about mixing ingredients; it's about understanding how each component contributes to that coveted smooth, creamy consistency and balanced flavor. With a few key techniques and a commitment to quality ingredients, you’ll discover that crafting this Middle Eastern delight at home is not only easy but incredibly rewarding.
The Foundation of Flavor: Selecting Superior Hummus Ingredients
The journey to truly spectacular
smooth creamy homemade hummus begins long before you even turn on your food processor. It starts with the careful selection of each ingredient, as their quality directly impacts the final taste and texture. Think of them as the building blocks of your culinary masterpiece.
Chickpeas: The Heart and Soul of Your Hummus
Chickpeas, also known as garbanzo beans, form the robust base of any good hummus. They are responsible for the bulk of its creaminess and impart a mild, earthy, and nutty flavor. While canned chickpeas offer undeniable convenience, especially when time is of the essence, starting with dried chickpeas can elevate your hummus to an entirely new level.
*
Canned Chickpeas: A fantastic time-saver. Always rinse them thoroughly under cold water to remove excess sodium and any canning liquid, which can affect the flavor.
*
Dried Chickpeas: If you have the time, dried chickpeas yield a superior texture and richer flavor. They require soaking overnight and then cooking until incredibly tender, almost falling apart. This extra step is well worth it for the ultimate smooth consistency.
Tahini: The Unsung Hero of Creaminess and Depth
Tahini, a paste made from ground sesame seeds, is arguably the most crucial ingredient after chickpeas for achieving that signature smoothness and adding a distinct, nutty richness. Without good tahini, your hummus will lack its characteristic depth and luxurious texture.
*
Quality Matters: Look for a smooth, pourable tahini with a light color and a pleasant, slightly bitter aroma. Avoid brands that appear thick, gritty, or separated, as these can result in a pasty or bitter hummus. Good tahini should be stirrable and creamy right out of the jar.
*
Stir Well: Like natural nut butters, tahini often separates. Always stir it thoroughly before measuring to ensure a consistent blend of oil and solids.
Freshness First: Garlic and Lemon Juice
These two ingredients are the vibrant flavor boosters of hummus, providing brightness and a zesty kick that balances the richness of the tahini and chickpeas.
*
Garlic: Fresh garlic cloves are non-negotiable. Their pungent, aromatic essence is vital. Avoid pre-minced garlic in a jar, which often has a muted flavor and can even be slightly bitter. Start with 1-2 cloves and adjust to your preference, as raw garlic can be quite potent.
*
Lemon Juice: Freshly squeezed lemon juice brightens the entire dip, cutting through the richness and awakening the palate. Bottled lemon juice simply doesn't compare in terms of vibrant, natural flavor. A little zest from the lemon can also add an extra aromatic punch.
Olive Oil and Seasonings: The Finishing Touches
Extra virgin olive oil adds another layer of richness and contributes to the silky texture, while seasonings enhance all the other flavors.
*
Extra Virgin Olive Oil: Use a good quality extra virgin olive oil. It's often drizzled generously over the finished hummus, so its flavor will shine through.
*
Salt: Essential for bringing all the flavors into harmony. Start with a moderate amount and adjust to taste.
*
Cumin: Ground cumin adds a warm, earthy, and subtly spicy note that is characteristic of traditional hummus. Don't overdo it, as it can quickly overpower other flavors.
Mastering the Art of Preparation for Velvety Texture
With your superior ingredients assembled, it's time to transform them into glorious
smooth creamy homemade hummus. The preparation steps are straightforward, but a few techniques can make all the difference in achieving that desired silky texture.
Preparing Your Chickpeas for Peak Performance
If you’ve opted for dried chickpeas, this step is crucial.
- Soak: Rinse dried chickpeas thoroughly. Place them in a large bowl and cover with plenty of cold water (at least 3 times the volume of chickpeas). Soak overnight, or for a minimum of 8-12 hours. This rehydrates them and significantly reduces cooking time.
- Cook: Drain and rinse the soaked chickpeas. Transfer them to a pot and cover with fresh water by several inches. Bring to a boil, then reduce heat and simmer for 1 to 1.5 hours, or until the chickpeas are incredibly tender. They should smash easily between your fingers but not be mushy.
- Cool: Drain the cooked chickpeas and allow them to cool completely. Warm chickpeas tend to make a gummier hummus.
For canned chickpeas, simply rinse them very well under cold water until no foam remains.
The Blending Blueprint for Ultimate Smoothness
A powerful food processor is your best friend here.
- Combine Base Ingredients: Place the cooked and cooled chickpeas into the bowl of your food processor. Add the tahini, fresh lemon juice, garlic cloves, and salt. Many recipes also suggest adding a small amount of ice water at this stage, or even a few ice cubes, which helps create an incredibly light and airy texture.
- Blend Until Creamy: Process on high speed. The mixture will initially look chunky. Keep blending, stopping frequently to scrape down the sides of the bowl with a spatula. This ensures all ingredients are evenly incorporated and helps break down stubborn chickpea pieces.
- Patience is Key: Continue blending for several minutes – often 3-5 minutes or even longer. You're looking for a completely smooth, almost ethereal consistency. Don't rush this step; longer blending equals smoother hummus.
Achieving Perfect Consistency and Flavor Balance
This is where you truly make the hummus your own.
- Adjust Consistency: Once the hummus is smooth, assess its thickness. If it’s too thick for your liking, slowly add cold water (or more olive oil) a tablespoon at a time, blending after each addition until you reach your desired consistency. For an even lighter and fluffier result, continue to add a little ice water as you blend.
- Taste and Season: Taste the hummus. Does it need more salt? More lemon juice for brightness? A pinch more cumin for warmth? Adjust seasonings gradually, blending thoroughly after each addition, until the flavors sing. Remember, you can always add more, but you can’t take it away!
Pro Tips for an Unforgettable Smooth Creamy Homemade Hummus
While the basic steps will get you a good hummus, these expert tips will elevate your creation to extraordinary status, guaranteeing an unparalleled
smooth creamy homemade hummus every single time.
The Chickpea Skin Secret (and Other Texture Hacks)
For the absolute silkiest hummus, consider the "chickpea skin secret."
- Peeling Chickpeas: This is the ultimate hack for ultra-smooth hummus. After cooking (or rinsing canned chickpeas), gently rub them between your hands under running water, or individually peel off their skins. This is a bit time-consuming but removes the thin, fibrous skins that can contribute to a slightly gritty texture. Many home cooks swear by it for achieving restaurant-quality smoothness.
- Emulsify with Ice Water: As mentioned, adding a few tablespoons of ice-cold water or even a couple of ice cubes during the blending process helps to emulsify the ingredients, making the hummus incredibly light, fluffy, and glossy. This technique also helps keep the hummus cool, preventing it from becoming gluey.
- Hot Chickpeas: Some chefs advocate for blending chickpeas while still warm (not hot!) if you're not peeling them, as the warmth can help soften them further for blending. However, be cautious not to make it too hot, which can sometimes lead to a pastier result. We recommend cooling them completely for consistency, especially if you're adding ice water.
For more advanced blending techniques and ingredient ratios, you might find valuable insights in
smooth creamy homemade hummus - Article 2.
Elevating Your Hummus Experience
Once your perfect
smooth creamy homemade hummus is ready, the serving possibilities are endless.
- Classic Dippers: Serve with warm pita bread, crunchy pita chips, crisp vegetable sticks (carrots, cucumbers, bell peppers), or fresh laffa flatbread.
- As a Main Component: Hummus isn't just a dip; it's a versatile base. Use it as a creamy spread in sandwiches and wraps, a topping for grilled chicken or falafel, or alongside Middle Eastern favorites like shawarma and arayes.
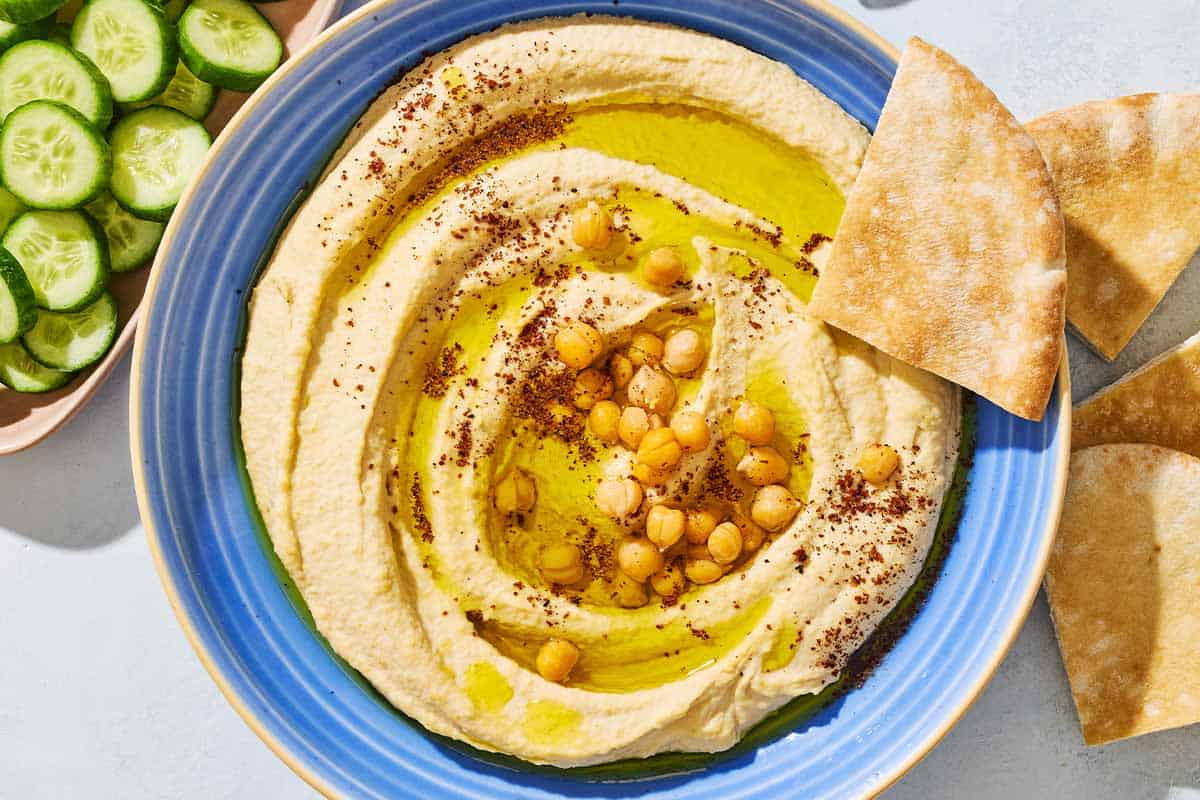
- Garnishes: A final drizzle of quality extra virgin olive oil is almost mandatory. Beyond that, sprinkle with paprika, sumac, za'atar, fresh chopped parsley, toasted pine nuts, or even a few whole chickpeas for visual appeal.
- Storage: Store homemade hummus in an airtight container in the refrigerator for up to 4-5 days. For best results, press a piece of plastic wrap directly onto the surface of the hummus to prevent a skin from forming.
To explore unique flavor variations and gourmet topping ideas that will take your hummus to the next level, be sure to check out
smooth creamy homemade hummus - Article 3.
Conclusion
Creating truly
smooth creamy homemade hummus is a delightful culinary adventure that promises big rewards for minimal effort. By focusing on fresh, high-quality ingredients, paying attention to the details of chickpea preparation, and leveraging the power of your food processor with a bit of patience, you can consistently achieve that coveted velvety texture and perfectly balanced flavor. This guide has equipped you with all the knowledge and tips you need to move beyond store-bought tubs and into the realm of truly exceptional homemade hummus. So, gather your ingredients, fire up your food processor, and get ready to enjoy a healthy, delicious, and incredibly satisfying dip that will impress everyone who tastes it. Happy hummus making!